Table of Contents
To clean upholstered dining chairs safely, check the fabric and frame instructions separately, remove loose crumbs gently and blot fresh spills with a dry white cloth. Use moisture or cleaner only where the exact upholstery permits it. Keep treatment away from exposed wood, metal fittings and the seat underside, then allow the chair to dry before reuse.
A dining chair combines several surfaces in a small space: a padded seat, seams or piping, a backrest and a supporting frame. One cleaning product may not suit them all. This guide explains how to clean upholstered dining chairs without turning a local food mark into a soaked seat or a damaged finish.
Key takeaways
- Check the upholstery and frame care instructions before choosing tools or products.
- Clear crumbs after meals, including accessible folds and seat edges.
- Vacuum only if permitted for the exact fabric; use light contact and stop if it catches.
- Treat food residue and greasy marks as different problems, not with one household recipe.
- Test permitted treatment, limit moisture and check dryness before sitting down.
Jump to: preparation, crumbs and seams, food and grease, spot treatment, drying or FAQs.
Check the chair and protect the frame
Instructions first: Look beneath the seat for a label and check the retailer’s booklet or order details for the fabric name. Identify separate instructions for painted, varnished, veneered or metal parts. If the upholstery information is missing, ask the supplier before wet treatment. A removable seat pad does not establish that its cover is washable.
Place the chair upright on a stable surface with enough room to reach its sides. Protect the floor with a clean, non-slip covering where needed. Use separate cloths for the upholstery and frame so food residue or furniture polish is not transferred between them. Dust exposed frame parts according to their own instructions.
Protect the joins: Keep cleaner away from the edge where fabric meets the frame, decorative studs and exposed fittings. Do not spray across the whole chair. A clean dry cloth can intercept an accidental drip, but remove it afterwards rather than leaving damp material against a finish. Pause cleaning if the chair is unstable, a joint is loose or the upholstery is torn.
Remove crumbs from seats and seams
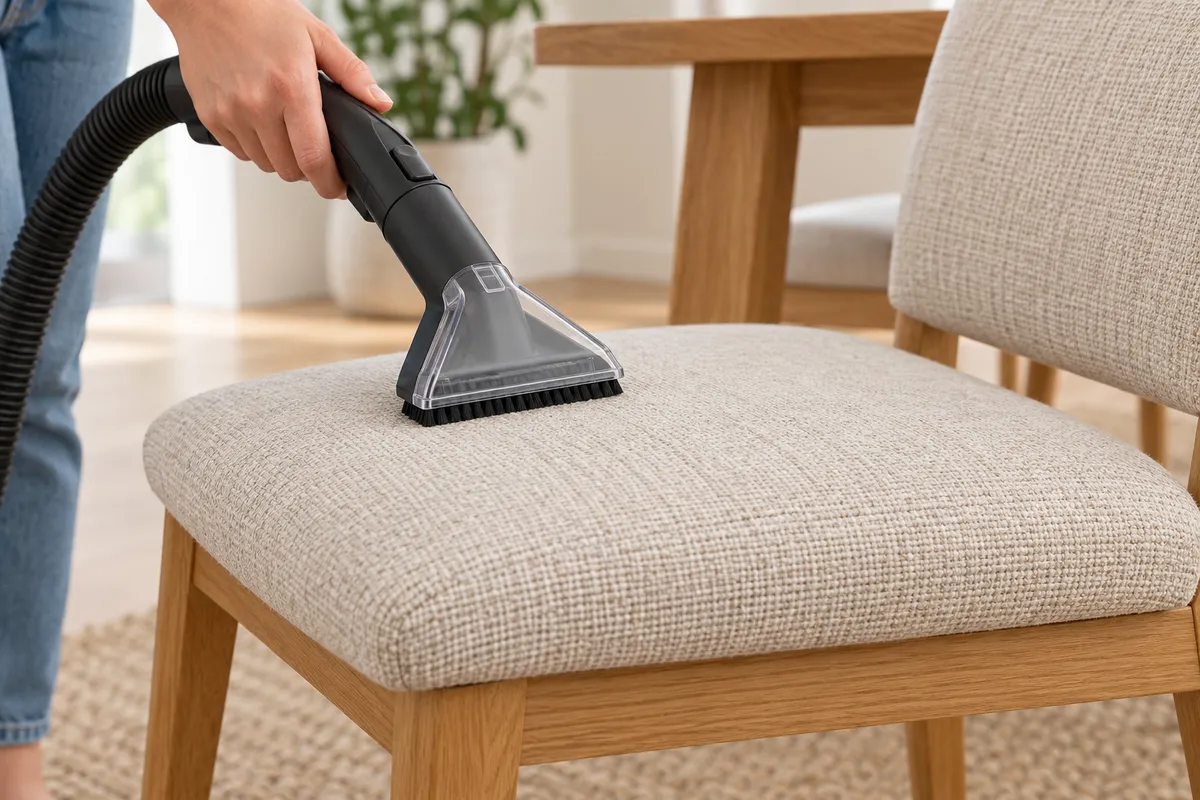
DFS’s dining-chair care guidance recommends checking seats after meals and sweeping away crumbs with a soft, dry cloth. It allows a soft brush vacuum attachment for some fabrics, including around pleats or buttons, but excludes faux leather and deep-pile fabrics such as velvet. It also directs owners to specialist fabric or leather guidance. These are DFS’s product-care recommendations, not universal vacuum permission.
Dry debris first: Where your instructions permit it, gently collect loose crumbs before tackling a mark. Check the junction of seat and backrest, piping and accessible folds. Lift crumbs out rather than pushing them along a seam. Do not dig under buttons, pull piping aside or force tools through tight gaps.
Vacuum conditionally: If allowed, start with low suction and a clean soft attachment on a hidden area. Keep contact light and lift the tool between passes. Stop if fabric lifts, threads catch or the surface becomes disturbed. For a material that prohibits vacuuming, follow its specified dry-care method instead; stronger suction is not a solution to trapped debris.
Separate food spills from grease marks
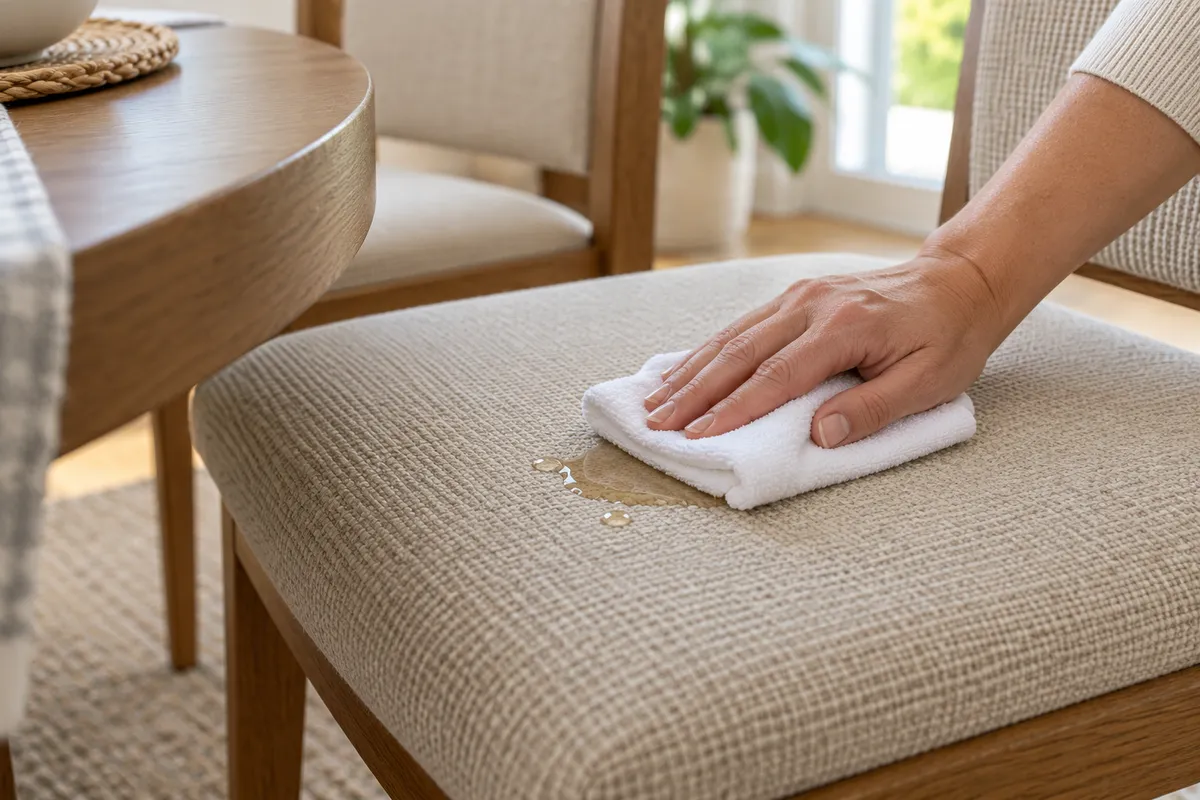
Fresh spill: Blot liquid gently with a clean, dry white absorbent cloth, changing to a clean section as needed. Carefully lift loose thick food with a spoon’s edge without scraping the weave. Avoid rubbing, and do not vacuum a wet or sticky spill with equipment intended for dry debris.
Greasy mark: Butter, cooking oil and creamy sauces may leave an oily patch after loose food is removed. Adding water simply because the mark remains is not a reliable treatment plan. Do not reach for washing-up liquid, solvent or powder unless the chair manufacturer approves that exact product and method.
| Mark or residue | Cautious starting point | Reason to pause |
|---|---|---|
| Dry crumbs | Permitted gentle dry removal | Debris is trapped beneath trim or the tool catches |
| Fresh drink or watery food spill | Dry white-cloth blotting | The wet edge spreads or liquid reaches seams |
| Greasy food mark | Lift loose food and check approved treatment | No suitable product is specified |
| Dried sauce or unknown stain | Identify the spill and previous treatments | Removal would require scraping or repeated wetting |
Our general grease-stain guide provides background across different surfaces. Its methods are not permission to treat your chair. If the fabric instructions give no suitable approach, ask for a professional stain assessment and explain the food involved and any products already applied.
Test permitted treatment and limit moisture
Approval before testing: Use only a method allowed for the exact upholstery. A hidden test does not override a prohibition on water or a requirement for professional cleaning. Follow specified dilution, application and residue-removal directions rather than inventing a gentler-looking version of another fabric’s instructions.
- Choose an inconspicuous area of the same fabric, away from exposed frame finishes.
- Apply the approved treatment as instructed, without wetting the seat underside or frame.
- Let the test dry completely and compare colour, texture and feel with an untouched section.
- Proceed locally only if the test is unchanged, following the same approved method and drying directions.
Stop on change: Colour transfer, a ring, stiffness, puckering or altered texture means the test has not passed. Even a successful test cannot guarantee a larger treatment. Avoid soaking the padding or widening a patch to chase its edge. If a stain persists after the permitted treatment dries, seek advice before another pass.
Dry the chair before reuse
Airflow and space: Keep treated upholstery uncovered and follow its drying instructions. Leave chairs spaced apart in a ventilated room rather than stacked or pushed tightly beneath the table. Keep them clear of direct radiator heat and avoid using a hairdryer to force the seat dry.
Check before sitting: Compare the seat with an untreated area and inspect accessible seams and undersides without removing upholstery or dust covers. A dry surface does not prove the padding is dry. There is no universal waiting time: moisture quantity, padding and room conditions matter. Keep the chair out of use if dampness remains. Persistent dampness, a musty smell or a new ring needs assessment, not fragrance or extra cleaner.
When professional cleaning is the next step
Seek advice for widespread food soiling, greasy patches without an approved treatment, liquid in the padding or marks left by earlier cleaning. Ask whether the cleaner handles dining chairs and can assess both fabric and adjacent finishes. Our upholstery service information describes the broader service; confirm chair-specific suitability rather than assuming a sofa method applies.
Frequently asked questions
Can I vacuum every upholstered dining chair?
No. Check the exact fabric’s instructions. DFS’s dining-chair guidance excludes faux leather and deep-pile velvet from its vacuum advice. A soft attachment is not enough to make a prohibited method suitable, and light suction still needs manufacturer permission.
Can I steam clean the seats?
Only where the manufacturer expressly approves steam for the upholstery and chair construction. Permission for damp spot treatment does not establish heat tolerance. Do not use a clothes steamer or carpet machine as a shortcut around missing care instructions.
Can removable chair covers go in the washing machine?
Only if their instructions explicitly permit machine washing and specify drying and refitting. A zip, removable pad or accessible fixing does not establish washability. Avoid dismantling the chair simply to separate fabric from padding for cleaning.
What should I do if the frame gets cleaner on it?
Stop applying treatment and carefully blot accidental liquid with a separate clean dry cloth. Follow the frame’s care instructions for any further action. Do not scrub a changed finish or add another chemical to counteract the first; ask the supplier about visible damage.
How much does dining-chair cleaning cost?
Request a quote stating chair quantity, seat and back upholstery, fabric type and stain history. Our London cleaning price guide gives general context. Confirm what treatment and drying arrangements are included rather than assuming a fixed price applies.
Ask before adding another treatment
If cleaning reaches a stopping point, contact 4 Seasons Carpet Clean with chair photographs, care labels and previous-treatment details. Ask about fabric and frame compatibility before arranging work.
Editorial scope: Prepared for 4 Seasons Carpet Clean using the linked DFS guidance and cautious general care checks. DFS advice applies to its products; your chair’s instructions take priority. No personal testing or guaranteed stain-removal results are claimed.